
In this video, we take a look at what our clients can see in their portal and how they use it.
You'll see how they sign documents and also complete forms. If you've not used Forms before, see How To Use Forms for more information.
In the portal, your client sees Home and Contact us, then, for each client they're linked to, Client details, Files, Signing requests and Forms.
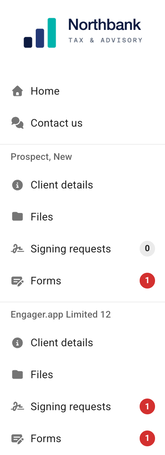
- Home welcomes them to your Client Portal and tells them to use the left panel to reach each client they're associated with.
- Contact us shows your website, e-mail, phone numbers and online calendar (BOOK A MEETING WITH US).
- Client details shows their contact details, contact preferences and services.
- Signing requests and Forms show a count of anything waiting for them.
The gear at the top right (Click for options) has Change password, Set up Two-Factor Authentication, View login journal, Link our mobile app and Log out.
Files and uploads
Files shows only the folders you've shared with the client. Each is labelled Read & upload (they can add files) or Read-only.
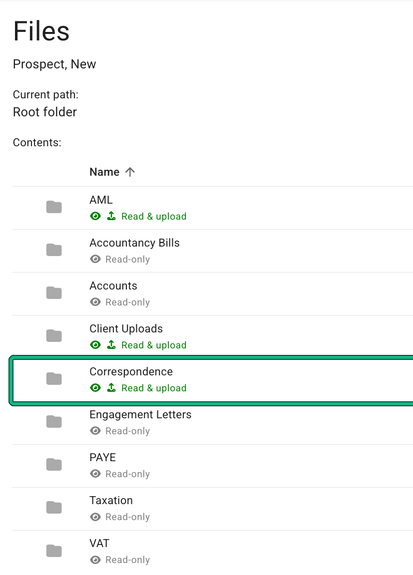
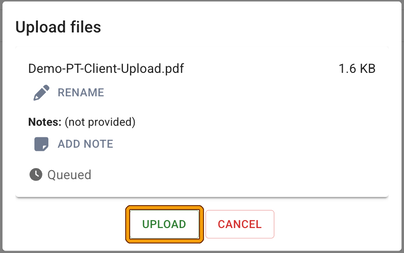
In a Read & upload folder, your client selects UPLOAD FILE, drags and drops or selects their files (max. size: 50 MB), can RENAME a file or ADD NOTE, then selects UPLOAD and FINISH. The file appears in the same folder on their record in Engager, with Created by showing Client.
There's no email option for this. The recipients set on Client uploads a file to Client Portal in Settings > Notifications (the users you add there, plus the manager or director options if ticked) get a notification in the bell.
Client Log In Problems?
If your client struggles to log in they may get the error message “Unknown fetching error - code: 400”. It's a general message the portal can show for many kinds of failed request, so check the two usual causes.
They may be using the wrong email address: it should be the email you have saved against the client record in Engager.
Or the client hasn't accepted and signed up for the portal. You can tell if the client is signed up to the portal by going to their record in Engager: under Client Portal on the client summary you will see signed up, with disable and delete options.
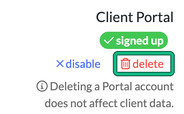
If they are signed up, using the right email and still unable to access the portal, then you should delete the portal using the delete button and then re-invite them. Deleting a Portal account does not affect client data. disable only switches their access off (and back on with enable); it doesn't reset their login.
Haven't invited your clients to the portal yet?
Don't worry, we've built you a fab tool to invite / remind your clients to sign up to the Portal. This sits on your Dashboard as a handy widget called Client Portal users, showing how many clients are not invited, have an invite expired or are pending. If you can't see it, select the gear icon on your dashboard, choose Manage dashboard and select the widget's eye icon to show it.
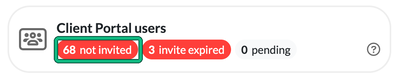
Simply select the red not invited count and you'll then be presented with your list of clients in Client Portal users. You can invite them one by one, or in bulk. Use Show: to filter the list, for example to without e-mail to see those that don't have an email in the system yet. You'll need to contact these separately, then invite.
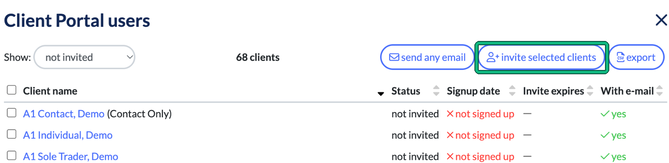
Once you've selected invite selected clients you'll then have the usual email builder page. The invite email (shown below for a single contact's invite) uses the Client Portal signup request template, and the [PortalSignupLink] placeholder in the body gives your client their sign-up link. Once you're happy with the message, send it: your client will see a line encouraging them to sign up to the portal.
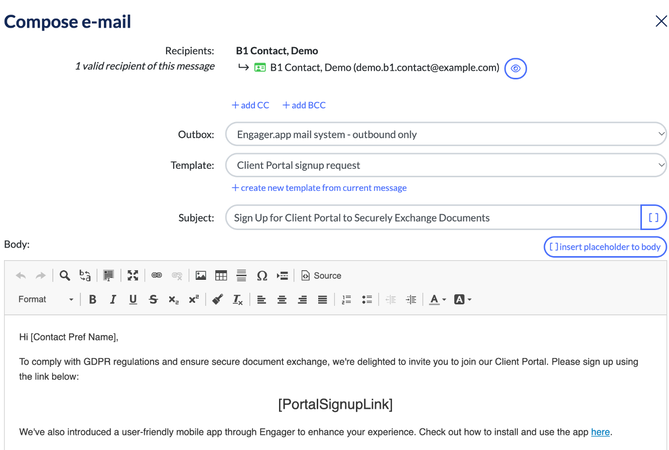
Please note that the only ESIGNATURE that your clients can do without signing up to the Portal, is your Letter of Engagement.