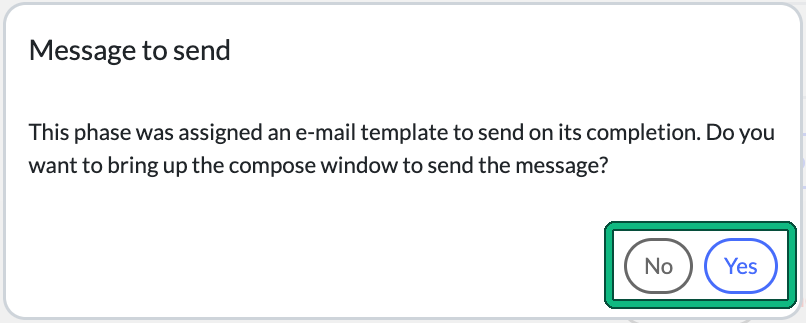
Status update emails let you link a template email to a phase in a workflow, so Engager offers to send it to your client when that phase is completed.
Let’s start with triggering the template from a status change, within a Phase.
So at this stage, you should have been through these articles one by one, and created your Services as to how you want this to happen. If you haven’t, naughty, head back to 3 of 10: Organise Your Services and Dashboard.
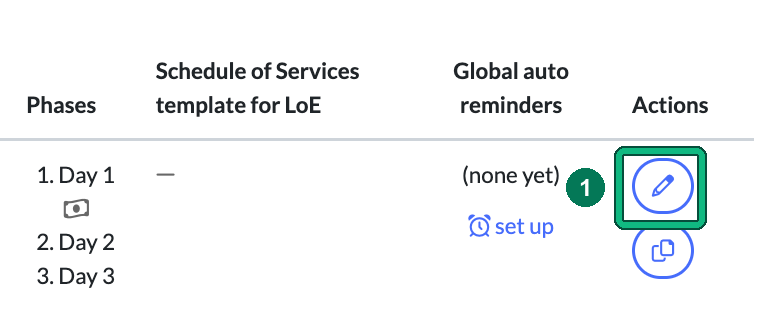
- Head to Settings > Jobs > Services, find your service and select the pencil icon in the Actions column. This opens Edit service. Scroll down to Phases.
- Within the Phase, you can see a section that states Template for an e-mail to send on completing the phase. Choose your template from the dropdown, then select Save.
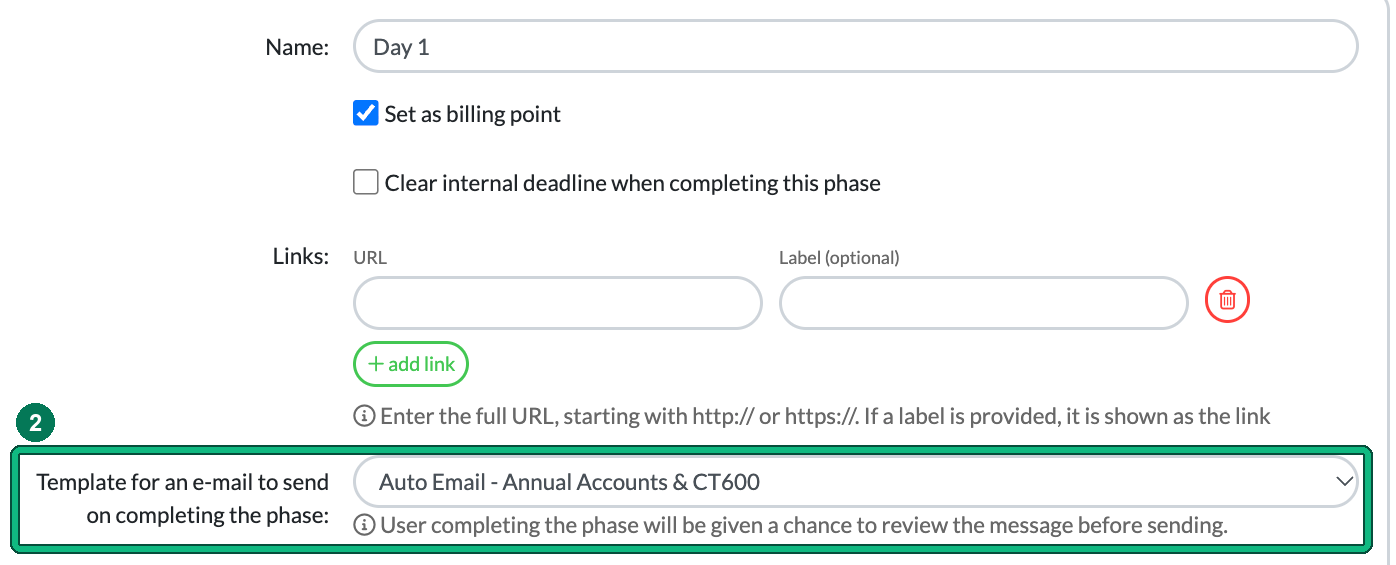
From here, your newly created custom template will be visible within the dropdown. Fab!
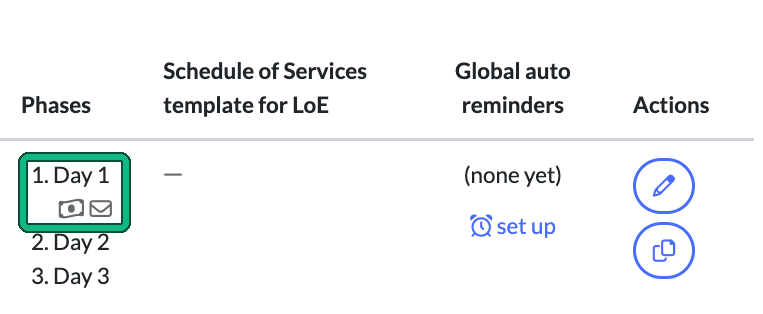
Once saved, the Services list shows an envelope icon beside that phase in the Phases column, so you can see at a glance which phases have an email suggested on completion.
Tips for when to use this
You could have it so Engager has been doing the arduous task of chasing your client for bank statements / WIP etc using the automation service, and then once you or a staff member has COMPLETED the Phase, Engager will offer to email the client your template.
So for example, you can have a template that thanks the client for records, informs them that the accounts are now due to be worked on, expect them in 4-6 weeks etc.
Once the Preparation phase is Completed, this can then inform the client that the accounts are now in REVIEW with your Senior Tax Specialist, eta could be 5 working days.
Let Engager be your client touch-point master by using Phases, Workflows and Automations.
Sending the email when you complete the phase
The email isn’t sent automatically. When you complete the phase in the job, the phase is marked as completed and Engager reminds you with Message to send, asking whether you want to bring up the compose window to send the message.
- Select Yes to open the compose window, where you can review the message and send it.
- If you don’t need to send it, don’t: select No. Nothing is sent and the phase stays completed. You are in total control of all the Engager behaviours.