
When you’re getting set up in Engager, we highly recommend adding your departments and staff into the system. You may want to restrict access to certain things and so we’ve provided you with features to change all personnel permissions.
Prefer to watch a video tutorial?
Create a department
Before we start to tailor permissions per staff member, let’s create a Department. Please note you don’t have to do this, especially if it’s perhaps yourself and one other in the company. Departments are a great way to track time and cost, so as an example, you could have a department for ‘Outsourcing / Sub-Contractors’.
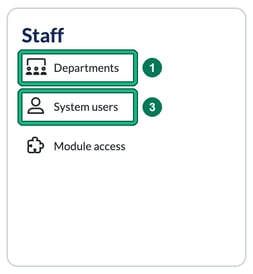
- Let’s head to Settings > Staff > Departments.
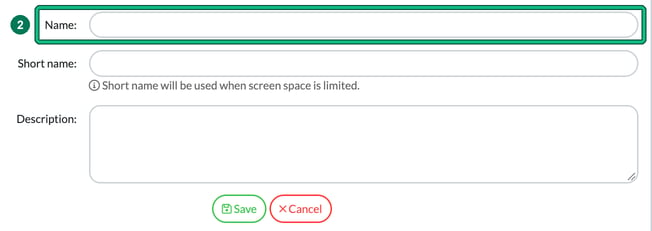
- Select + add department and name your Department in Name:. You can also add a Short name:, which is used when screen space is limited, and a Description:. Then select Save.
Add your staff and set their permissions
Now we’ve created our Outsourcing Department, let’s add our staff members.
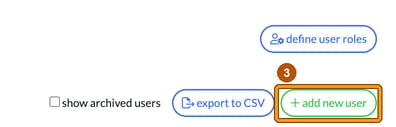
- Head to Settings > Staff > System users and select + add new user. This opens Add new user.
- Then you can enter your essential details about the staff member (First name:, Last name:, Initials: and Email:), assign them to your new department in Department: and even enter their cost to your business vs charge out rate in Cost to practice per hour: and Charge out rate per hour:. This comes into effect for those using Time Tracking in the system.
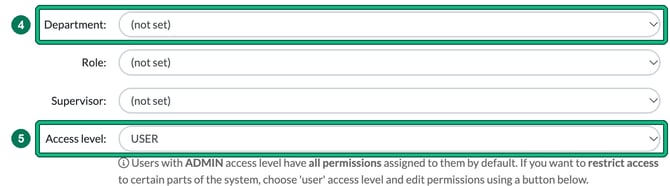
- Here we want to focus on Permissions. Users with an ADMIN access level have all permissions by default, so to restrict what the staff member can do, set Access level: to USER. Then, next to Permissions:, select change. This opens Change permissions.
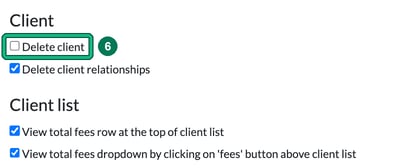
- Let’s tell Engager what the staff member can and can’t do. We’ve built an extensive list for you here, so have a read through and mark off what you do and don’t want them to do / see. In our example, we’ve got a new Outsourcing Team. There’s no way that I want them to be able to ‘delete’ a client, so let’s get that removed as an option right away: under Client, untick Delete client. Simply untick the relevant boxes as you go through, then select Confirm.
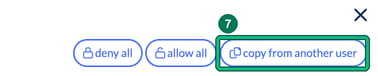
They’re a new department to my practice and so I’d prefer it that the Outsourcing Team not interfere with my time tracking of them / their department, so I’ve also removed the time log permissions, such as Create manual time logs. - Once you’ve done this for 1 member of the Outsourcing Team, you can duplicate these settings for the next team member, so that you don’t have to go through them again. In the top right-hand corner of Change permissions, beside deny all and allow all, select copy from another user.
Inviting Staff / New Users to Engager
Once you’re happy that the settings and permissions are correct, you need to invite your team member. You choose how they get in while you’re adding them, in the same Add new user form.
- Under Password setup:, choose send an email to the user with a link to set up a password (the link is valid for 3 days), or type new password in the field below to set their password for them. Decide which is going to be more efficient here, then select Save.

The Password column in System users shows whether each user has set up their password, for example set up or setup link expired. For an existing user, select the security (lock) button in the Actions column for Change password, along with View login journal and Sign out on all devices.
Changing an existing user’s permissions
In Settings > Staff > System users, select the pencil icon (edit) next to the user to open Edit user. Next to Permissions:, select change, make your changes in Change permissions and select Confirm. This returns you to Edit user: scroll down and select Save, beside Cancel. The permissions are only saved when you save Edit user.