Elevate your client experience with a customised portal and streamline your tasks with automation. Learn how these tools can transform your practice's productivity and client engagement.
Lastly, we recommend you to navigate to 'File Name Templates'. These will allow you to set some pre-defined file names so that when you upload a file to the portal. You can quickly and consistently rename the file.
Client Portal Settings
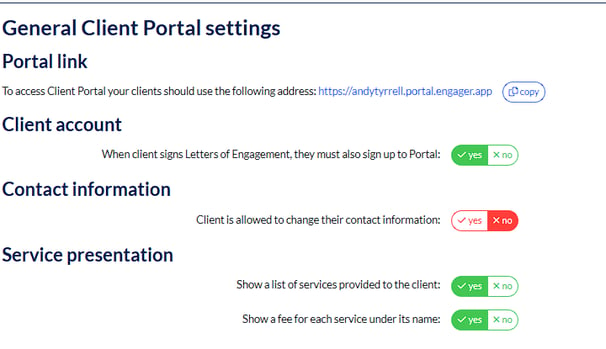
Head to your Settings - Left Hand Side - Portal - General Settings
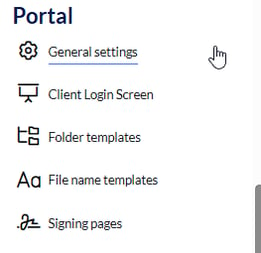
From here you can amend the settings and permissions that you want your client to see / interact with
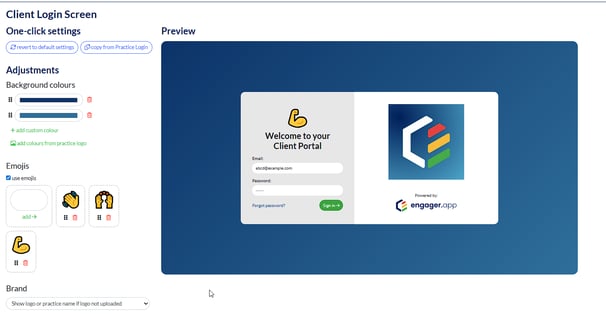
Client Login Screen
This is where you can really look to customise the look and feel for when your client is logging - get your branding in there, get your colours and and play with some newly created emojis. Your portal login screen represents you and your practice
Folder Templates and Structures
In this video we look at how to manage your folder structure in Client Engager there's also a step-by-step PDF guide
Folder Templates and Structures
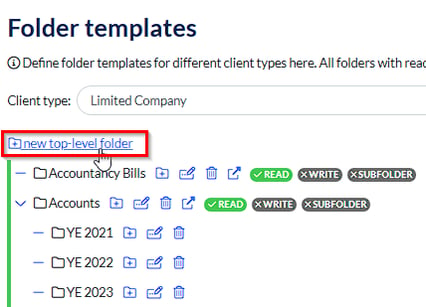
This is where you can set what folders you will need per client type, so folders for Self Assessment clients and folders for LTDs
You will see 3 options Read, Write and SubFolder. The most import of these is READ when it is Green as this denotes that your client can SEE the document in their client portal
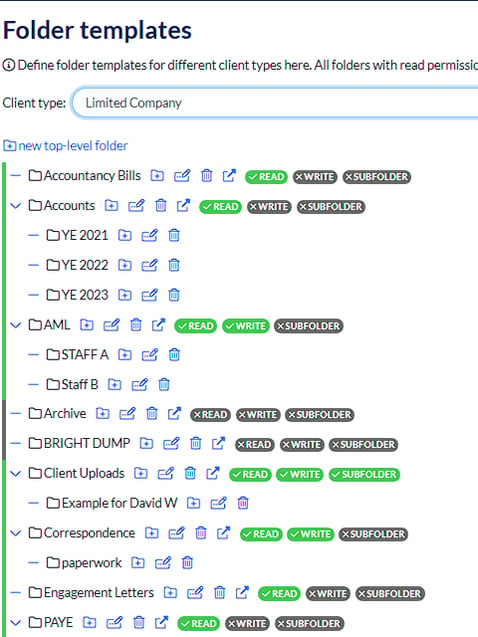
If WRITE is green, it means that your client can interact with that document, they can read, and upload their own documents to that folder - handy
Remember that if you hold documents such as working papers, for your client, you can keep these hidden in a Subfolder - don’t mark it as Green as the clients can see your workings. If there’s anything sensitive also, make sure the folder remains grey
It’s very quick and easy to change these permissions by selecting the ‘change sharing options’ icon
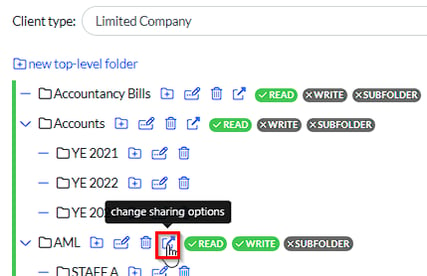
From here you can amend the options accordingly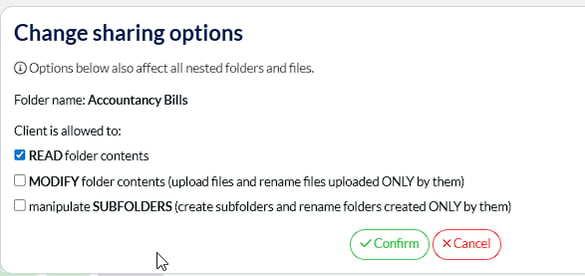
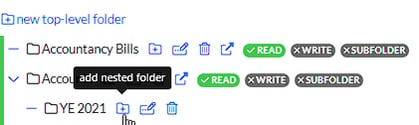
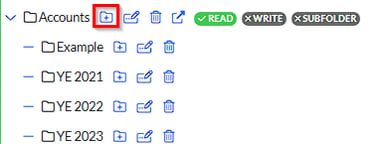
If you want to ADD a new Folder and additional nested folders within, simply select ‘New top-level folder’ name accordingly, then select the ‘Add nested folder’